Despite the many hairdressing disasters you may have heard about when people attempt to cut their own hair you would be surprised how easy it is to achieve a professional looking hair cut with just some basic hairdressing tools and some tips that will help you along the way.
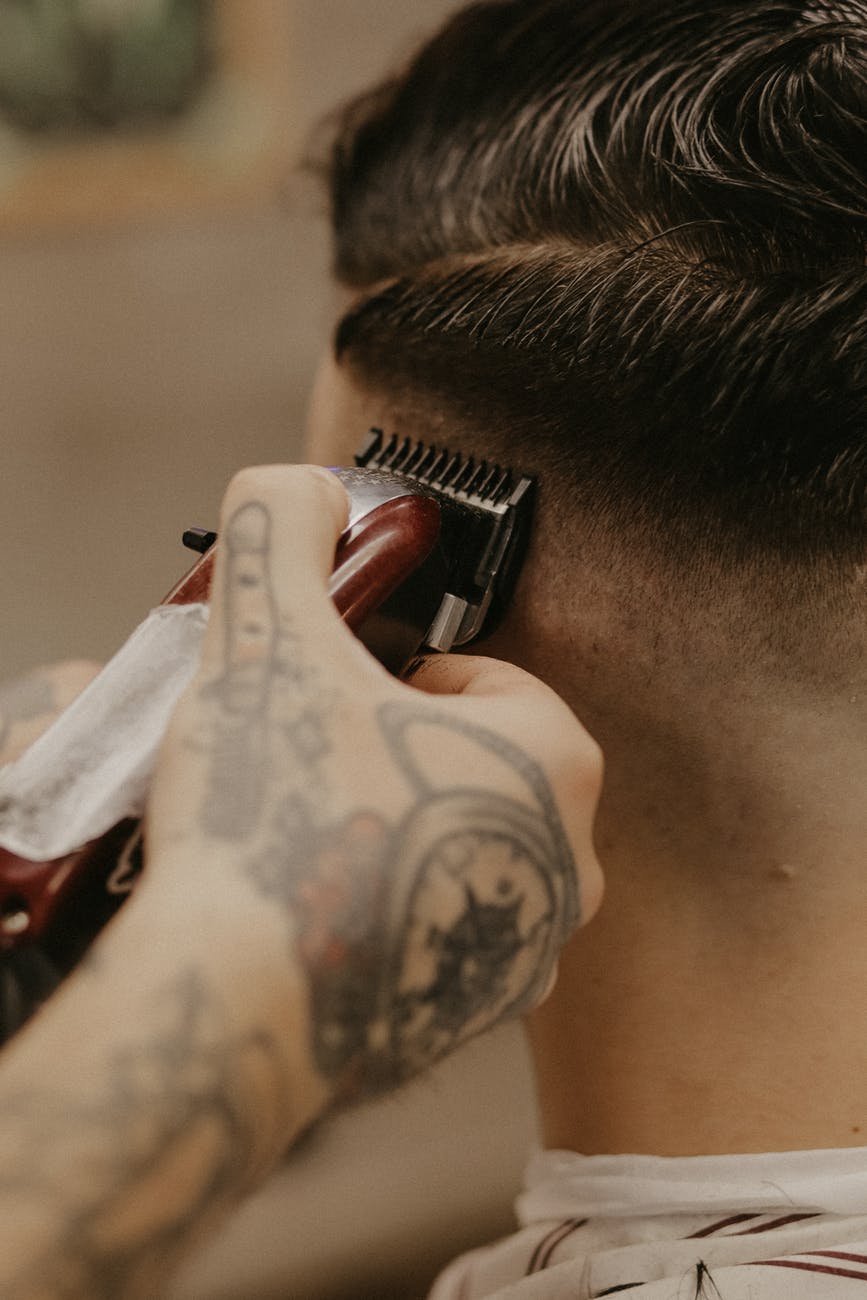
In this article I will aim to teach you how you can cut your own hair with clippers and also save a small fortune by never visiting a hair salon ever again.
Step one of cutting your own hair involves picking a good pair of clippers with a variety of attachments. So don’t be afraid to experiment a little and as you’re new to hair cutting you may not know which attachment is best for you.
The independent hair stylist is the one who is going to be performing the hair cut and in order to get the hair cut right a little preparation work needs to be done first. You should gather the following information to help you learn how to cut your own hair.
The first thing you want to do is to make sure that you can properly communicate with your hair stylist. Make sure that they understand what you want and you trust them. If you sit in the chair and the stylist makes no effort to make you feel at ease then leave the salon – it’s not a good look.
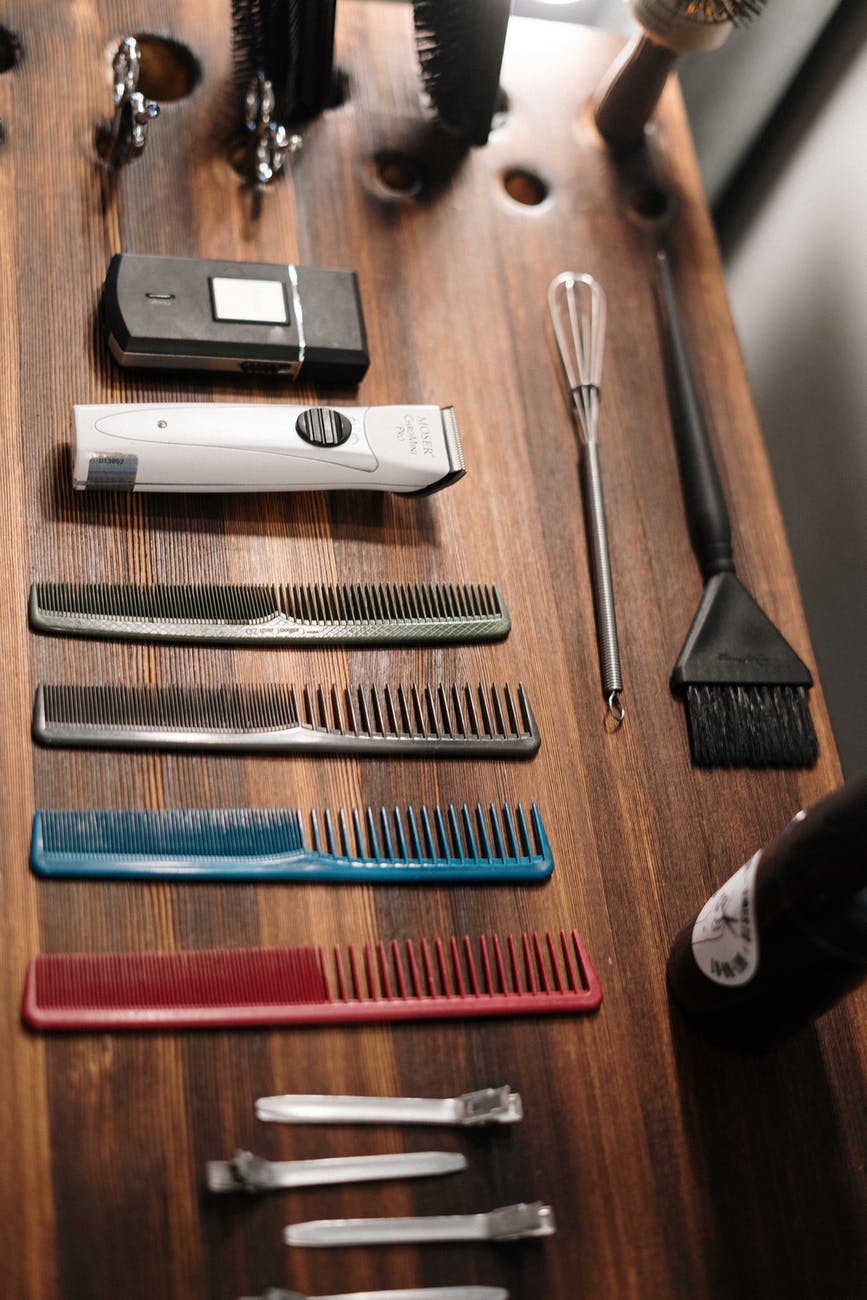
The things you will need to cut your own hair will be:
pacers
micro clips
scissors
cotton pads
brushes
Mix the powder with the vinegar (just enough to dampen the hair). Next, place the wet hair between the toes of your hand. It doesn’t have to be soaked, just make sure you can reach it. Hold the hair between the toes for a few seconds and release.
Begin by cutting off a 1 inch section directly above your front nail. Stand back and look at the back of your head. You should see a neck shape; it should look like the shape of a triangle. Starting on the left side of your head, cut off another 1 inch circle from the top of your forehead. Continue cutting until you reach the top of your head.
On the other side of your head, cut off another section about 1 inch above your ears. Continue the cut off above your ears until you get to the top of your head.
Once you’ve done these 4 steps, you will have a cut line that starts at the top of the head and continues to the bottom, across the back, and on the side of the head. Begin on the side of your head and work your way up. It is easiest to begin at the side of your head and work your way back. This can be time consuming, so be sure to have a friend or someone to help you along.
Once you’ve done these 4 steps, you will have a cut line that runs from the top of your head to the side of the crown of your head. Begin with the back of your head and work your way across the crown to the top of your head. This cut is the most important one to make.
To do this first, you will need to have a spray bottle with water and mirror. Before you begin, spray some water onto a mirror. This is important so that you will be able to see what you are doing.
Begin by tilting your head back. Keep your hair roughly in place by securing a hanger with bobby pins. After you began, you will needed to cut through the hair that is hanging on the left side of your head approximately 1 inch from the nape of your neck. If you do not, the hair that you cut off will be uneven. Continue in a smooth steady motion.
When you have finished with the first section, stretch your hair. Do not pull it but hold it with your hands. Then you will need to hold the top of your hair with your head tilted and cut off any hairs that are sticking up. Make sure that you hold the hair in between your fingers. Do not cut right through because you will have an uneven cut.
To make the second cut, hold the hair between your index and middle fingers. Then once you begin, cut off another 1 inch from the top of the head. Then the next cut should be a little bit smaller because of the stretched hair. Follow this routine until you have completely finished.
Here are a few tips for you to make the process more effective.
First, you will want to use thinning scissors because they are less likely to cut off too many ragged hairs.
Second, do not hesitate to use a mouthwash. Rinse your mouth after you chew and swallow your food. The added pressure from the liquid will help you cut the hair more easily.
Third, you will want to spread the hairs evenly in a small area before you begin the cut off. occupy one hand to holding the scissors and the other hand to cutting.